
Radius in the cloud with RADIUSaaS
Welcome to another blog about moving to the cloud. This blog is about radius for VPN profiles. We all know the NPS role on Windows Server. This product is well known for radius authentication and is still used in a lot of environments. But using the NPS role for VPN and Wifi profiles can be handled differently with RADIUSaaS. This is another cool product from Glueckkanja-gab. Let’s check the setup for an Wifi configuration.
This solution will also work if you have no resources in Azure yet. Because the radius environment is accessible from the internet. This solution is well protected, so no need to worry about security.
What are the benefits of having a radius environment in the cloud.
- No server management
- Have a redundant setup in the Microsoft cloud
- Scale options are easy to adjust
Prerequisites
- Azure Subscription
- Intune license
- Azure Active Directory (AzureAD Join) or Active Directory (Hybrid Domain Join)
- Windows 10/11 device that is enrolled with intune (AzureAD or Hybrid)
- Global Admin account for Azure
Setting up RADIUSaaS in Azure
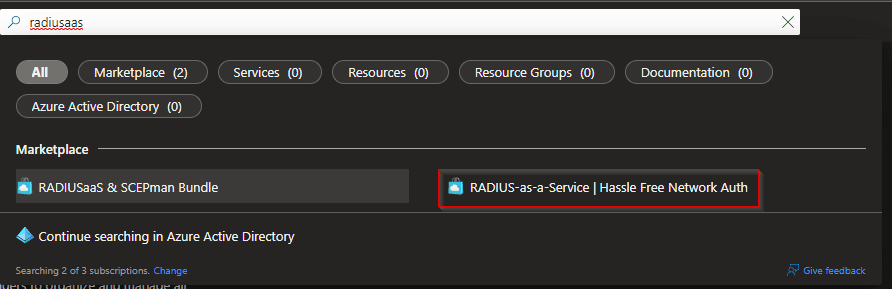
- The products of Glueckkanja-ga are available within the marketplace of Azure. Search on radiusaas and you will find the product in the marketplace. You can click on this for the subscription of this product. When you have filled in the fields correctly, they will contact you with the details of the URL to connect to the environment. Please check the costs per subscription plan.

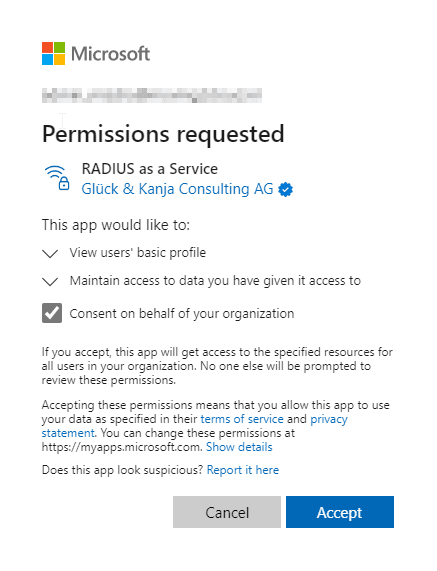
- When you have the details to login, you can first click on the URL. Then you need to click on Log in to give consent with your Global Admin account. This step could already be setup by RADIUSaaS itself. When you go straight to the portal then you are ready to go.
Configure the RADIUS proxy
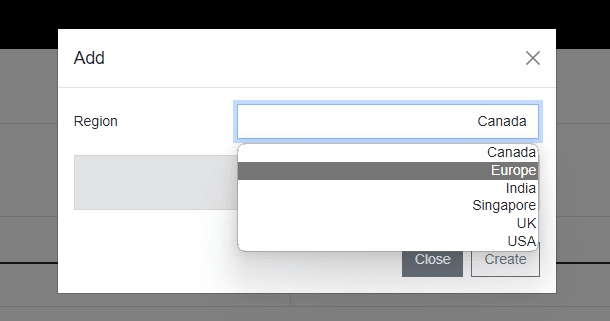
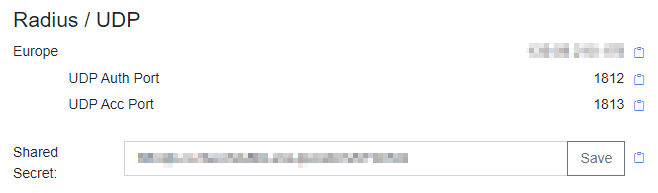
Now you can create the RADIUS proxy by clicking on Settings and on Proxy Settings. There you click on Add to change the region for your environment. I will choose Europe for my environment. When done the Region will show in the portal. And when you click on Server Settings the Shared Secret with external IP will be visible. This is needed when you want to connect services like a VPN or Access Point with RADIUSaaS.
Get the RADIUSaaS server certificate
In this step we are going to download the certificate for a certificate profile in Microsoft Enpoint Management. First click on Server Settings and then you will see the Server certificate. You can click on Download to get the .CER file.

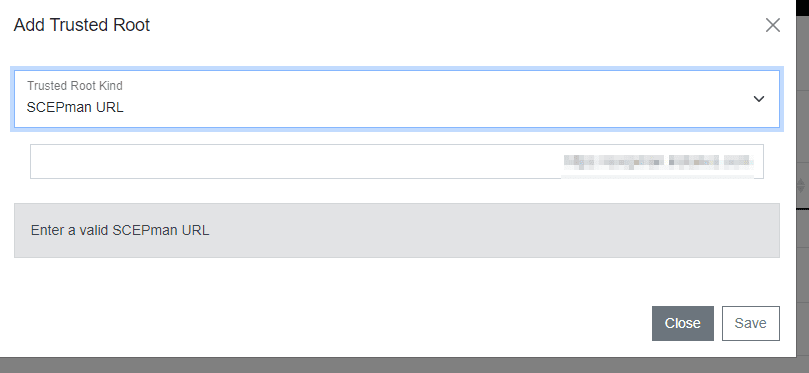
Configure the Authentication Certifcate with RADIUSaaS
It is important to have a Root CA connected to RADIUSaaS. So, you can use an exported certificate from your CA. First click on Settings and then on Authentication Certificates. Now you can click on Add to upload the certificate. I will use SCEPman, because that is my Root CA. I can use the URL of SCEPman to get the Root CA.
Configure MDM Certificate profile
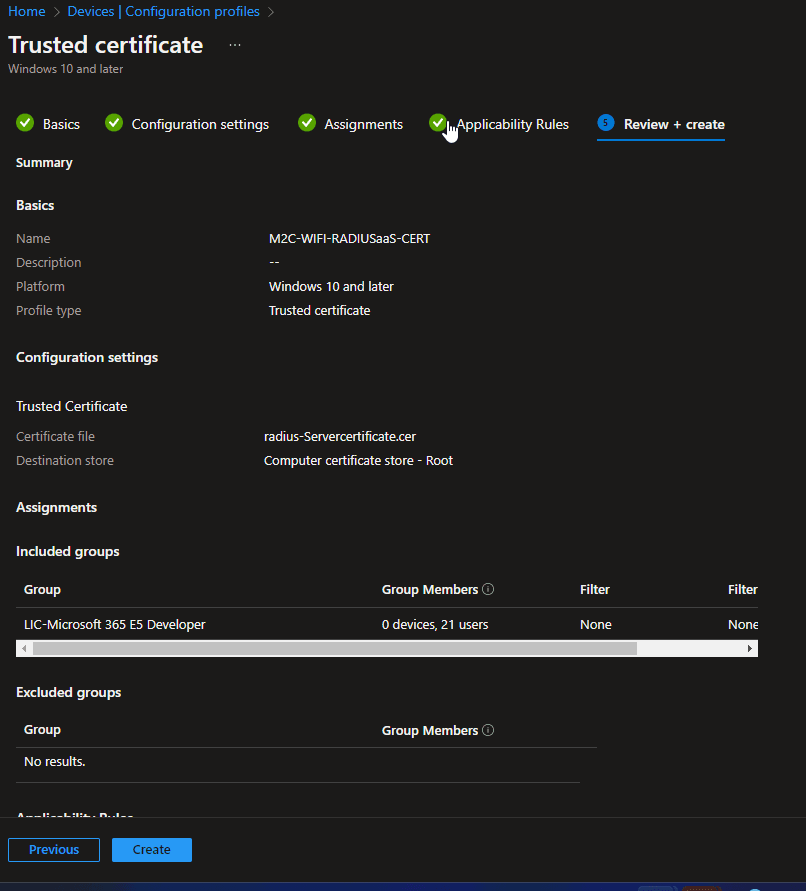
To enable trust between the client and RADIUSaaS, configure a trusted certificate profile in Microsoft Intune. Go the the portal of Microsoft Intune. Click on Devices and then on Configuration Profiles. Click on Create profile and select Windows 10 and later as platform. Then click on templates and search for Trusted. You will find the template Trusted certificate. Follow the steps to upload the certificate file. Then you assign a device group.
Please assign this profile to the same device group as the certificate profile of the Root CA. If you are planning to use a wifi profile, then assign this group the same as for the SCEP certificates and the wifi profile.
Configure a wifi profile
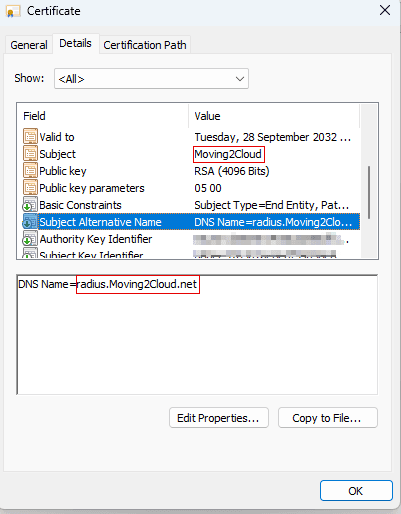
The certificate is used to authenticate the user with the RADIUSaaS environment, but you also need a SCEP User certificate profile to complete the Wifi profile setup, this can be done from a PKI environment. Please check the post about SCEPman and check how you can configure your SCEP User certificate profile. Now we can configure the profile from Microsoft Intune portal. First you go to Devices and then you go to Configuration profiles. Here you click on Create profile and select Windows 10 and later as platform. Now select templates as Profile type. Search for Wi-Fi and select the profile. When you filled in the name and go to Configuration settings you will have to select Enterprise as Wi-Fi type. Now you can check the following screenshot for the settings that are used to create the profile. Please pay attention to the naming of the servers in your profile, because its case sensitive.

Check the wifi profile on the device
If you want to check if the wifi profile exists on the system after Microsoft Intune has pushed the profile. You can check if the wifi profile is there with CMD.exe and the following command. Please run CMD.exe as admin. You should get a list of all profiles. If you run into issues getting the profile to work. Please check the following URL from Microsoft.
netsh wlan show profilesMore information
IntuneDocs/troubleshoot-wi-fi-profiles.md at main · MicrosoftDocs/IntuneDocs · GitHub
Final Thoughts
Setting up Radius could take up some time to configure. With RADIUSaaS it takes almost no effort to set everything up and running. I really want services to move to the cloud, because then you can setup redundancy easily, because this service is running in Azure . And you can secure your radius with RadSec. This is not shown in this blog. Please feel free to comment or share this post.