
The Azure Virtual Desktop Series Part 1
Hello everyone, this is my first post about the basics and best practices for Azure Virtual Desktop. I will also show you different ways to manage Azure Virtual Desktop with a clean image strategy in a modern way in the next series. This solution gives companies a great way to onboard the Microsoft cloud. Because solutions like Citrix, Horizion or Remote Desktop Services onprem can be migrated to Azure Virtual Desktop.
Prerequisites and overview
- Azure Subscription
- Intune license (or Microsoft 365 E3/E5 as bundle)
- Active Directory (no ADDS in Azure, setup a domain controller in Azure or onprem with a connection to Azure)
- AD Connect configured (this blog will not show ADFS as authentication method)
- Windows 10/11 Enterprise Subscription (or check this link for access rights to Azure Virtual Desktop)
- Global Admin account for the Azure tenant
- Owner rights on the subscription (or Contributor access)
If you don’t have the right licenses to access Azure Virtual Desktop, you can still set up this environment for testing purposes. Microsoft will try to activate the OS, but this will fail.
Azure Virtual Desktop has several options to consider for your company. There are three options to pick if you want to setup Azure Virtual Desktop.
Personal Desktops (Single-user)
- The user is owner of the desktop, no shared resources in the session.
- This option gives a full desktop experience.
- Profiles are stored on the session host. (Use Onedrive with KFM).
- Microsoft Intune compatible (All functionality is available).
- Users can power on session hosts and can be shut down automatically for cost management.
Pooled Desktops (Multi-user)
- The users share a desktop with multiple users.
- This option gives a full desktop experience.
- Profiles are stored on a storage account with FSLogix configured.
- Microsoft Intune compatible (System context functionality and partly User context)
- Autoscaler will manage the scaling of desktops for cost management.
Remote Apps (Multi-user)
- The users share a desktop with multiple users.
- This option only shows the remote app.
- Profiles are stored on a storage account with FSLogix configured.
- Microsoft Intune compatible (System context functionality and party User context)
- Autoscaler will manage the scaling of desktops for cost management.
Choosing the right option depends on some factors from the organization. Azure Virtual Desktop is also the perfect solution to migrate in steps to the Modern Workplace. Starting with a Personal / Pooled desktop and then migrating your legacy apps to SaaS. Then you can change your AVD setup to Remote Apps when some legacy apps are not yet migrated.
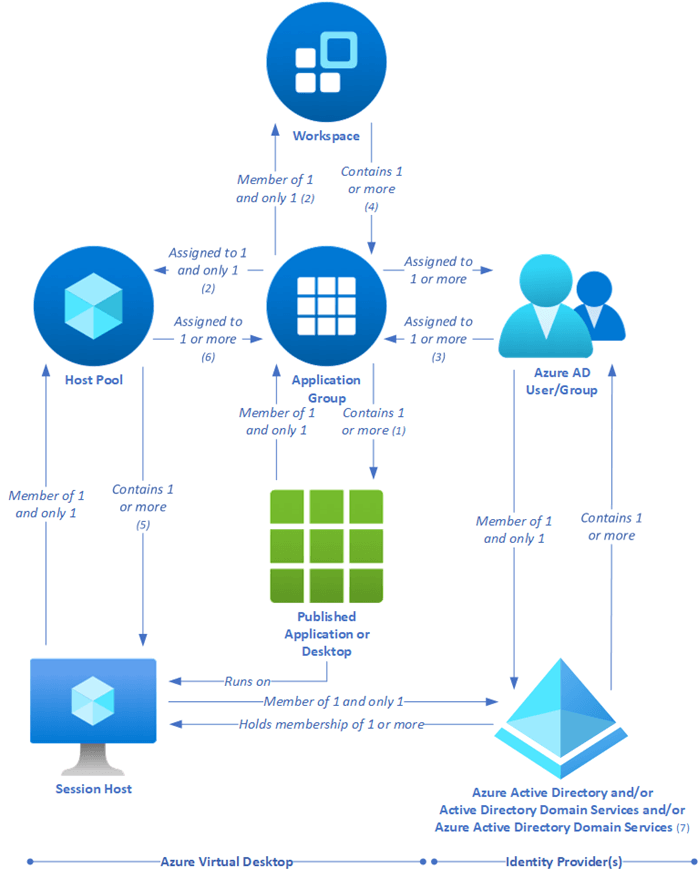
Here is the overview of all the resources from the backplane of the Azure Virtual Desktop environment. The following drawing is from the Microsoft Learning website.
First we are going to setup the basics in the Azure subscription for Azure Virtual Desktop. Lets start with a VNET that’s needed when creating the hostpool.
Creating a virtual network
- Resource group: M2C-RG-AVD-VNET
- Name: M2C-AVD-VNET
- Region: West Europe
- IPv4 address space: 10.1.0.0/16
- Subnet name: default
- Subnet address space: 10.1.0.0/24
- Sign into the Azure portal.
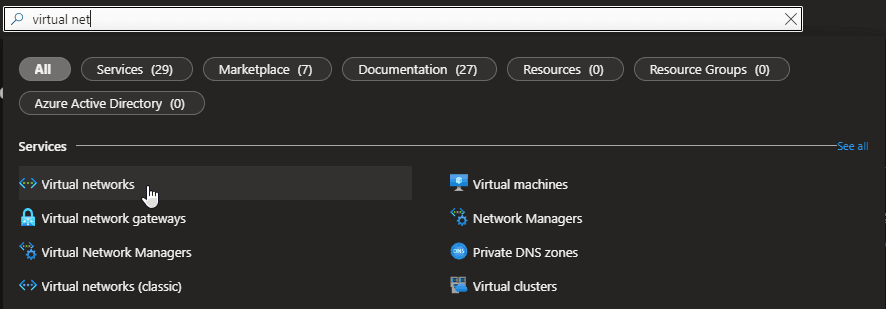
- In Search resources, service, and docs (G+/), type virtual network. Select Virtual network from the Marketplace results to open the Virtual network page.
- On the Virtual network page, select Create. This opens the Create virtual network page.
- On the Basics tab, configure the VNet settings for Project details and Instance details. You’ll see a green check mark when the values you enter are validated. The values shown in the example can be adjusted according to the settings that you require.
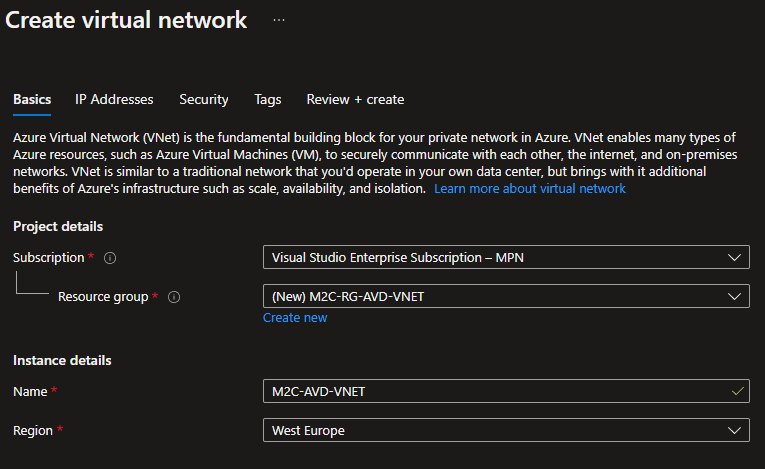
- Subscription: Verify that the subscription listed is the correct one. You can change subscriptions by using the drop-down.
- Resource group: Select an existing resource group, or select Create new to create a new one. For more information about resource groups, see Azure Resource Manager overview.
- Name: Enter the name for your virtual network.
- Region: Select the location for your VNet. The location determines where the resources that you deploy to this VNet will live.
- Select IP Addresses to advance to the IP Addresses tab. On the IP Addresses tab, configure the settings. The values shown in the example can be adjusted according to the settings that you require.
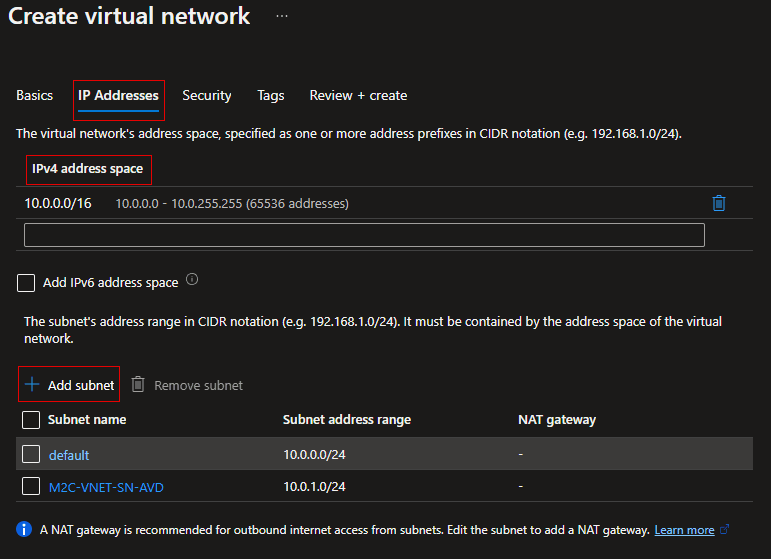
- IPv4 address space: By default, an address space is automatically created. You can select the address space and adjust it to reflect your own values. You can also add more address spaces by selecting the box below the existing address space and specifying the values for the additional address space.
- + Add subnet: If you use the default address space, a default subnet is created automatically. If you change the address space, you need to add a subnet. Select + Add subnet to open the Add subnet window. Configure the following settings, then select Add at the bottom of the page to add the values.
- Subnet name: In this example, we named the subnet “M2C-VNET-SN-AVD“.
- Subnet address range: The address range for this subnet.
- Select Security to advance to the Security tab. At this time, leave the default values.
- BastionHost: Disable
- DDoS Protection Standard: Disable
- Firewall: Disable
- Select Review + create to validate the virtual network settings.
- After the settings have been validated, select Create to create the virtual network.

Now we have created a VNET for AVD, its important that you connect your domain controller with this VNET. If your domain controller is in Azure within another VNET, you can create a VNET peering to that VNET. It’s possible that the domain controller is in a different subscription.
Peer virtual networks (optional)
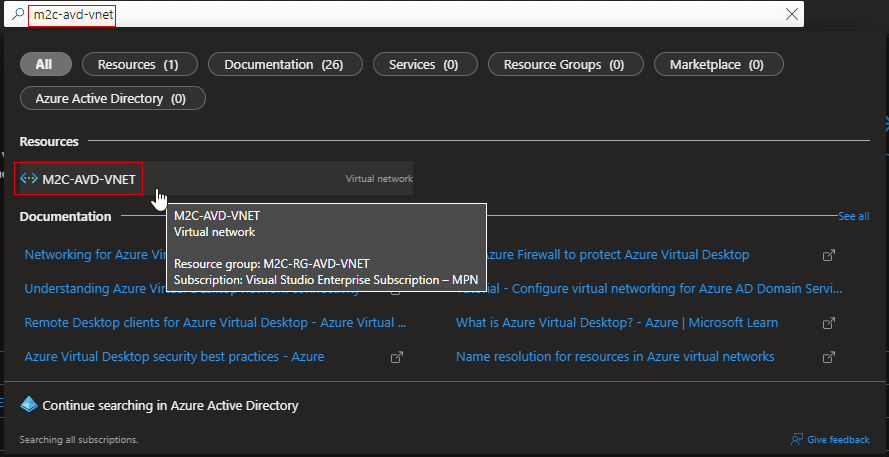
- In the search box at the top of the Azure portal. look for “M2C-AVD-VNET” (your created VNET). It will appear in the search results, select it.
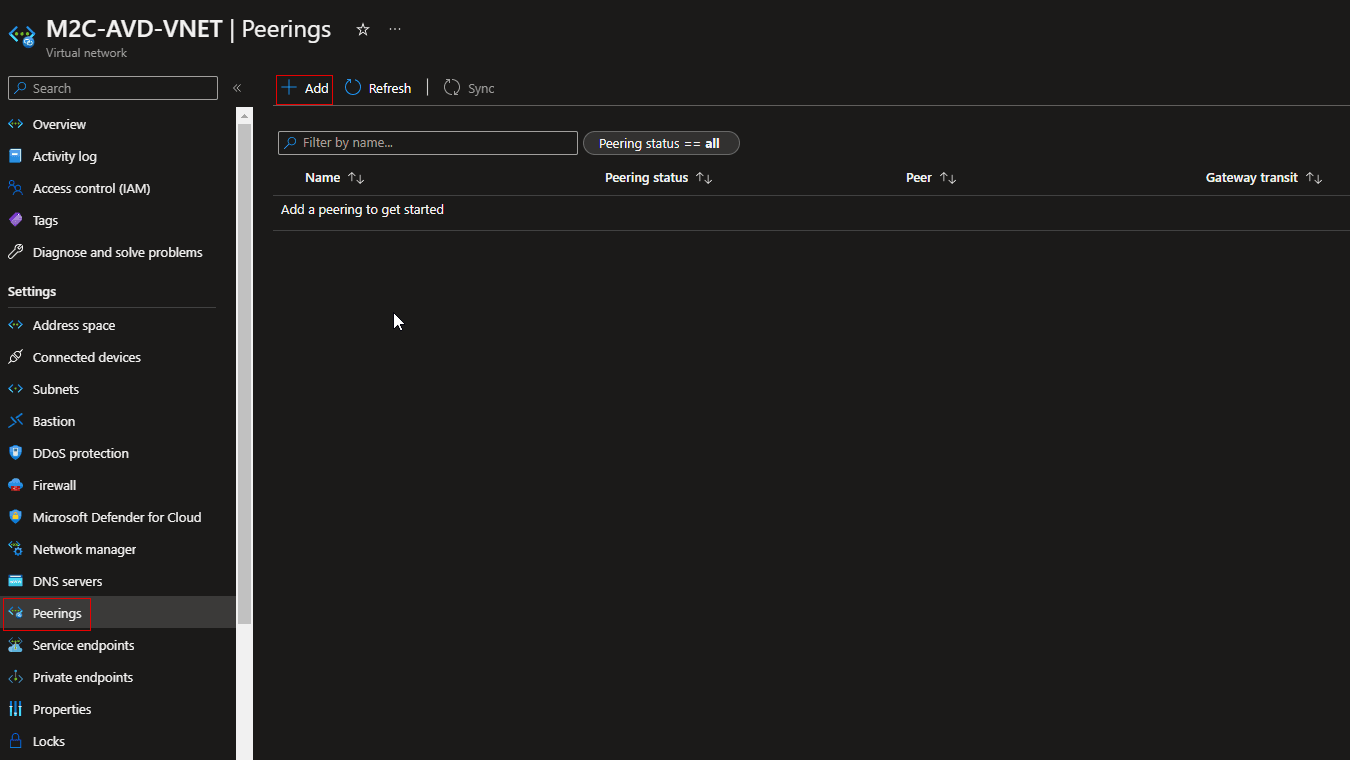
- Under Settings, select Peerings, and then select + Add, as shown in the following picture:
- Enter or select the following information, accept the defaults for the remaining settings, and then select Add.
These settings apply for my resources in Azure. Please check the names of your VNETs to configure the settings in the next page.
| Setting | Value |
|---|---|
| This virtual network | |
| Peering link name | Enter M2C-AVD-VNET–M2C-RG-ADDS-vnet for the name of the peering from M2C-AVD-VNET to the remote virtual network. |
| Remote virtual network | |
| Peering link name | Enter M2C-RG-ADDS-vnet-M2C-AVD-VNET for the name of the peering from the remote virtual network to M2C-AVD-VNET. |
| Subscription | Select your subscription of the remote virtual network. |
| Virtual network | Select M2C-RG-ADDS-vnet for the name of the remote virtual network. The remote virtual network can be in the same region of M2C-AVD-VNET or in a different region. |

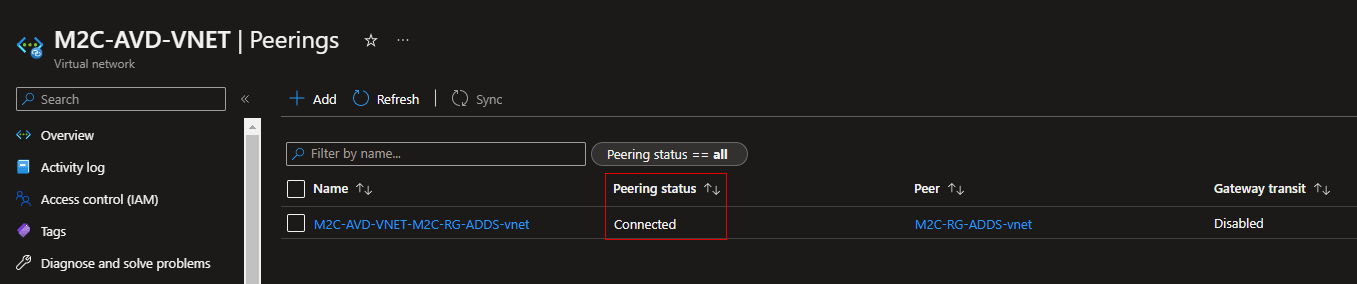
In the Peerings page, the Peering status is Connected, as shown in the following picture:
This AVD setup is going to connect to Active Directory, so line of sight with a domain controller is needed to complete this guide.
- Now that the VNET peering is connected, please ensure you have set the DNS servers to the right ip adresses. Because the hostpool needs to resolve the domainname from your Active Directory. Check the following image.

Configure the prerequisites
Now we can create the resources needed to setup AVD. Here is a list of the resources that needs to created before we configure the hostpool.
- OU (Organizational Unit) within Active Directory to enroll the session hosts. This OU needs to be synced with Azure AD. So we can create a Hybrid Domain setup for the best SSO experience in AVD. Configure AD Connect with Hybrid Azure AD Join. Please check this link from Microsoft.
- Domain Join account to join all the session hosts to the domain. Adding computers in the OU with delegated rights is enough to configure this account.
If your organization has a lot of GPO’s. Make sure you exclude the selected OU of those GPO’s. So you can start with a greenfield.
Now that all prerequisites are in place for Azure Virtual Desktop, we can finally start the build the AVD environment in Azure. This is going to be something for the next part of the Azure Virtual Desktop series.